reading-notes
https://faroukibrahim-fii.github.io/reading-notes/
React 3
React Context for Beginners – The Complete Guide (2021)
When should you use React context?
React context is great when you are passing data that can be used in any component in your application.
These types of data include:
- Theme data (like dark or light mode)
- User data (the currently authenticated user)
- Location-specific data (like user language or locale)
How do I use React context?
Context is an API that is built into React, starting from React version 16.
This means that we can create and use context directly by importing React in any React project.
There are four steps to using React context:
- Create context using the createContext method.
- Take your created context and wrap the context provider around your component tree.
- Put any value you like on your context provider using the value prop.
- Read that value within any component by using the context consumer.
Does React context replace Redux?
Yes and no.
For many React beginners, Redux is a way of more easily passing around data. This is because Redux comes with React context itself.
However, if you are not also updating state, but merely passing it down your component tree, you do not need a global state management library like Redux.
What problems does React context solve?
React context helps us avoid the problem of props drilling.
Props drilling is a term to describe when you pass props down multiple levels to a nested component, through components that don’t need it.
Here is an example of props drilling. In this application, we have access to theme data that we want to pass as a prop to all of our app’s components.
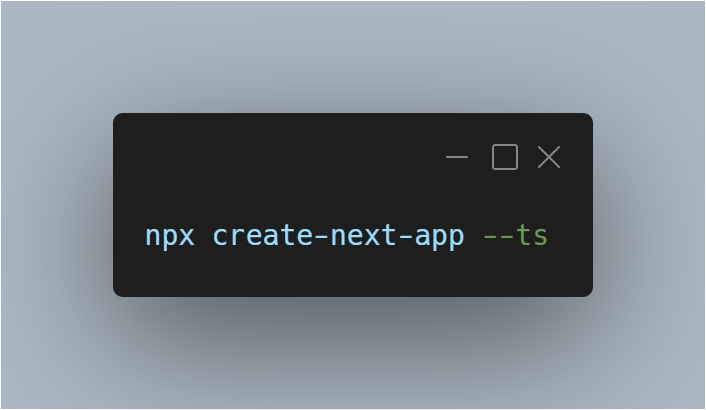
Create a Next.js App

-
To build a complete web application with React from scratch, there are many important details you need to consider:
-
Code has to be bundled using a bundler like webpack and transformed using a compiler like Babel. You need to do production optimizations such as code splitting. You might want to statically pre-render some pages for performance and SEO. You might also want to use server-side rendering or client-side rendering. You might have to write some server-side code to connect your React app to your data store. A framework can solve these problems. But such a framework must have the right level of abstraction — otherwise it won’t be very useful. It also needs to have great “Developer Experience”, ensuring you and your team have an amazing experience while writing code.
Next.js: The React Framework
Enter Next.js, the React Framework. Next.js provides a solution to all of the above problems. But more importantly, it puts you and your team in the pit of success when building React applications.
- Next.js has the best-in-class “Developer Experience” and many built-in features; a sample of them are: An intuitive page-based routing system (with support for dynamic routes) Pre-rendering, both static generation (SSG) and server-side rendering (SSR) are supported on a per-page basis Automatic code splitting for faster page loads Client-side routing with optimized prefetching Built-in CSS and Sass support, and support for any CSS-in-JS library Development environment with Fast Refresh support API routes to build API endpoints with Serverless Functions
Download Your Profile Picture
First, let’s retrieve your profile picture.
- Download your profile picture in .jpg format (or use this file).
- Create an images directory inside of the public directory. Save the picture as profile.jpg in the public/images directory.
Fully extendable
Next.js is used in tens of thousands of production-facing websites and web applications, including many of the world’s largest brands.
If you’re looking for documentation instead, visit the Next.js documentation.
Editing the Page Make sure the Next.js development server is still running. Open pages/index.js with your text editor. Find the text that says “Welcome to” under the tag and change it to “Learn”. Save the file.
Metadata

What if we wanted to modify the metadata of the page, such as the < title> HTML tag?
< title > is part of the < head> HTML tag, so let’s dive into how we can modify the < head> tag in a Next.js page.
Open pages/index.js in your editor and find the following lines:
    <Head>
    <title>Create Next App</title>
    <link rel="icon" href="/favicon.ico" />
    </Head>
Notice that < head> is used instead of the lowercase < head>. < head> is a React Component that is built into Next.js. It allows you to modify the < head> of a page.
You can import the Head component from the next/head module.
Adding Head to first-post.js We haven’t added a <title> to our /posts/first-post route. Let’s add one.
Open the pages/posts/first-post.js file and add an import for Head from next/head at the beginning of the file:
import Head from 'next/head'
Then, update the exported FirstPost component to include the Head component. For now, we‘ll add just the title tag:

    export default function FirstPost() {
    return (
        <>
        <Head>
            <title>First Post</title>
        </Head>
        <h1>First Post</h1>
        <h2>
            <Link href="/">
            <a>Back to home</a>
            </Link>
        </h2>
        </>
    )
    }
.
CSS Styling
Let’s now talk about CSS styling.
As you can see, our index page (http://localhost:3000) already has some styles. If you take a look at pages/index.js, you should see code like this:
    <style jsx>{`
    …
    `}</style>
Next.js has built-in support for styled-jsx, but you can also use other popular CSS-in-JS libraries such as styled-components or emotion.